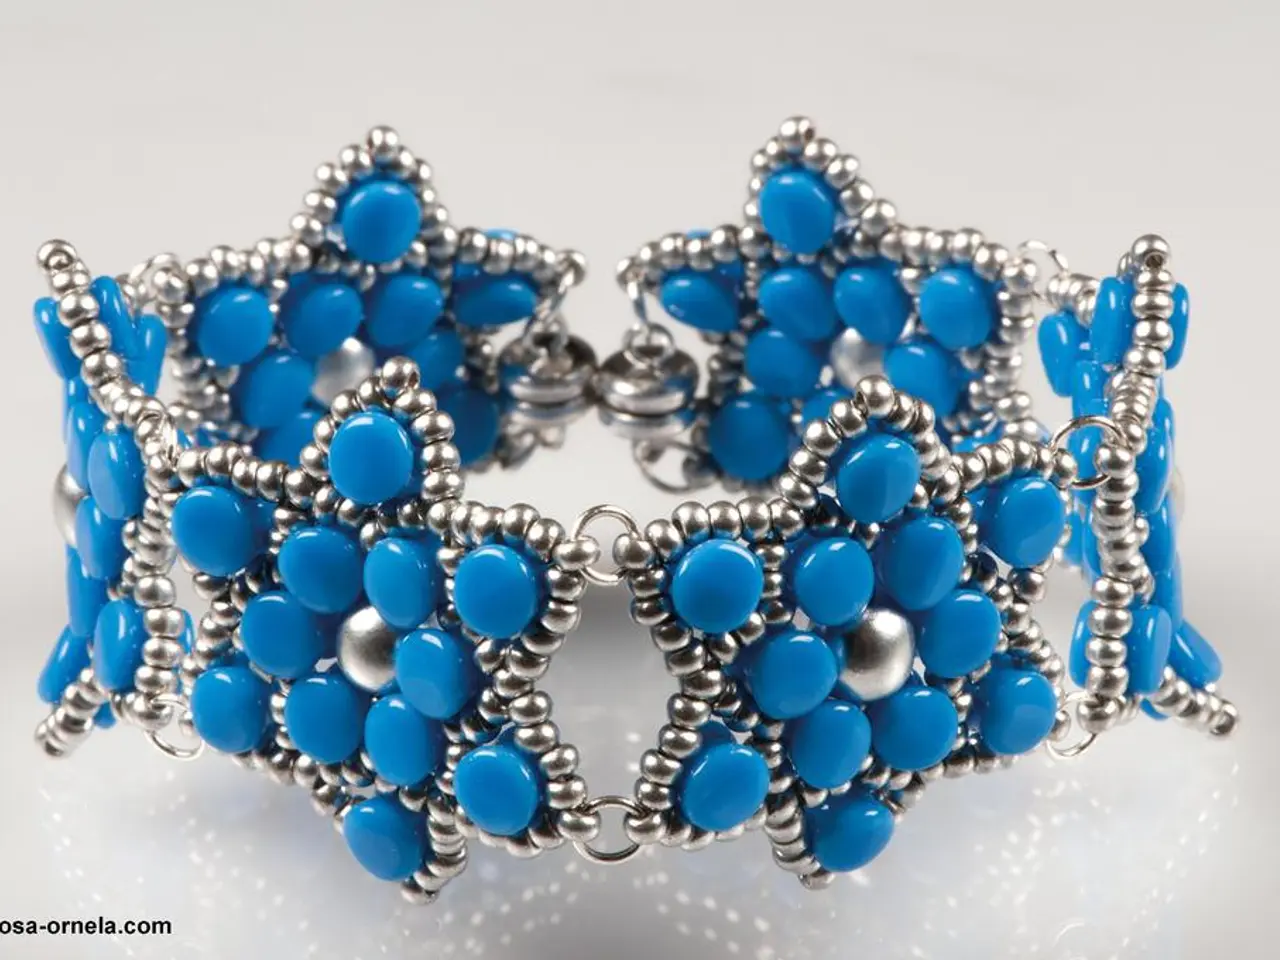
Crafting Bracelets Using Perler Beads: A Step-by-Step Guide
In this article, we'll guide you through the process of creating a personalised Perler bead bracelet. This fun and easy craft is perfect for both adults and kids, and requires no specific skills.
Materials
To make your custom Perler bead bracelet, you'll need the following materials:
- Perler beads in your chosen colours and designs
- Stretch cord or elastic string
- Scissors
- Tape or clip to hold the bracelet steady while working
- (Optional) A Perler bead pegboard, iron, and acetate (for fusing bead designs before adding to the bracelet)
- Jewelry pliers and a jump ring (for attaching charms)
Instructions
- Plan your design: Choose bead colours and patterns or create a custom pattern on paper or using a pegboard.
- Cut the stretch cord: Double the length of your wrist circumference plus extra for tying knots (usually a few inches longer).
- Secure one end: Use tape or a clip to hold the cord steady to avoid beads falling off while you work.
- String the beads: Thread Perler beads one by one onto the stretch cord following your design.
- Check length often: Wrap the bracelet around your wrist to ensure the length fits comfortably before tying.
- Tie the knot: Use a secure knot (like a double or surgeon’s knot) to fasten the bracelet, and trim excess cord.
- (Optional) Add fused Perler bead pieces: If you want added designs, make Perler bead fused shapes first, then use a needle and thread or glue to attach these pieces to your bracelet.
Tips
- Use a needle when threading beads onto elastic for easier stringing.
- Double the cord for extra strength.
- Experiment with combining fused Perler bead charms with loose beads.
- Be sure knots are tight and secure to prevent breakage.
- Stretch cords are best for easy wearing and durability.
With these simple steps, you can customise your bracelet freely in colours, patterns, and bead arrangements, making a unique accessory with Perler beads. This project can be used to craft thoughtful gifts, add a handmade touch to accessory collections, or serve as a creative escape.
For visual guidance on complex patterns or stitching techniques, we recommend watching video tutorials 15.
Perler beads offer an endless spectrum of colours and the flexibility to pattern them in any way desired. You can use this craft to create geometric patterns, whimsical colour splashes, or personalised messages.
In addition to bracelets, you can explore various Perler projects such as making boxes, bookmarks, crowns, door hangers, drink covers, key trays, organisers, and Tic Tac Toe games. This Perler bead bracelet project is suitable for summer crafts when kids get bored.
Happy crafting!
- Your personalized Perler bead bracelet project can extend beyond just a bracelet, as you can use the same beads for home-and-garden decorations such as creating door hangers, drink covers, or key trays.
- As you delve deeper into the world of Perler beads, experimenting with various designs and patterns can elevate your lifestyle by adding a unique, handmade touch to your everyday accessories, from bracelets to home decor.


