Simple Guide for Vibrant Easter Eggs Using a Color Kit: Transform Your Eggs into a Spectacle
Dying Easter Eggs with PAAS: A Timeless Tradition Made Easy
Dyeing Easter eggs is a beloved tradition that has been celebrated for over a century, with PAAS egg dye being a popular choice since 1880. This year, you can create vibrant, beautifully coloured eggs with ease, even involving the little ones in the fun.
To get started, gather your supplies: plastic cups, water, PAAS egg dye, vinegar or lemon juice, hard-boiled eggs, and cups large enough to fit the eggs without them touching the sides, such as 18-ounce Solo cups.
First, fill each plastic cup with 1 cup of water. Next, add PAAS egg dye to the cups, along with either vinegar or lemon juice. For a standard PAAS kit, you'll need 1/2 cup of vinegar per dye cup, mixed with an equal amount of water. This ratio helps activate the dye tablets and ensures bright, vivid-colored eggs.
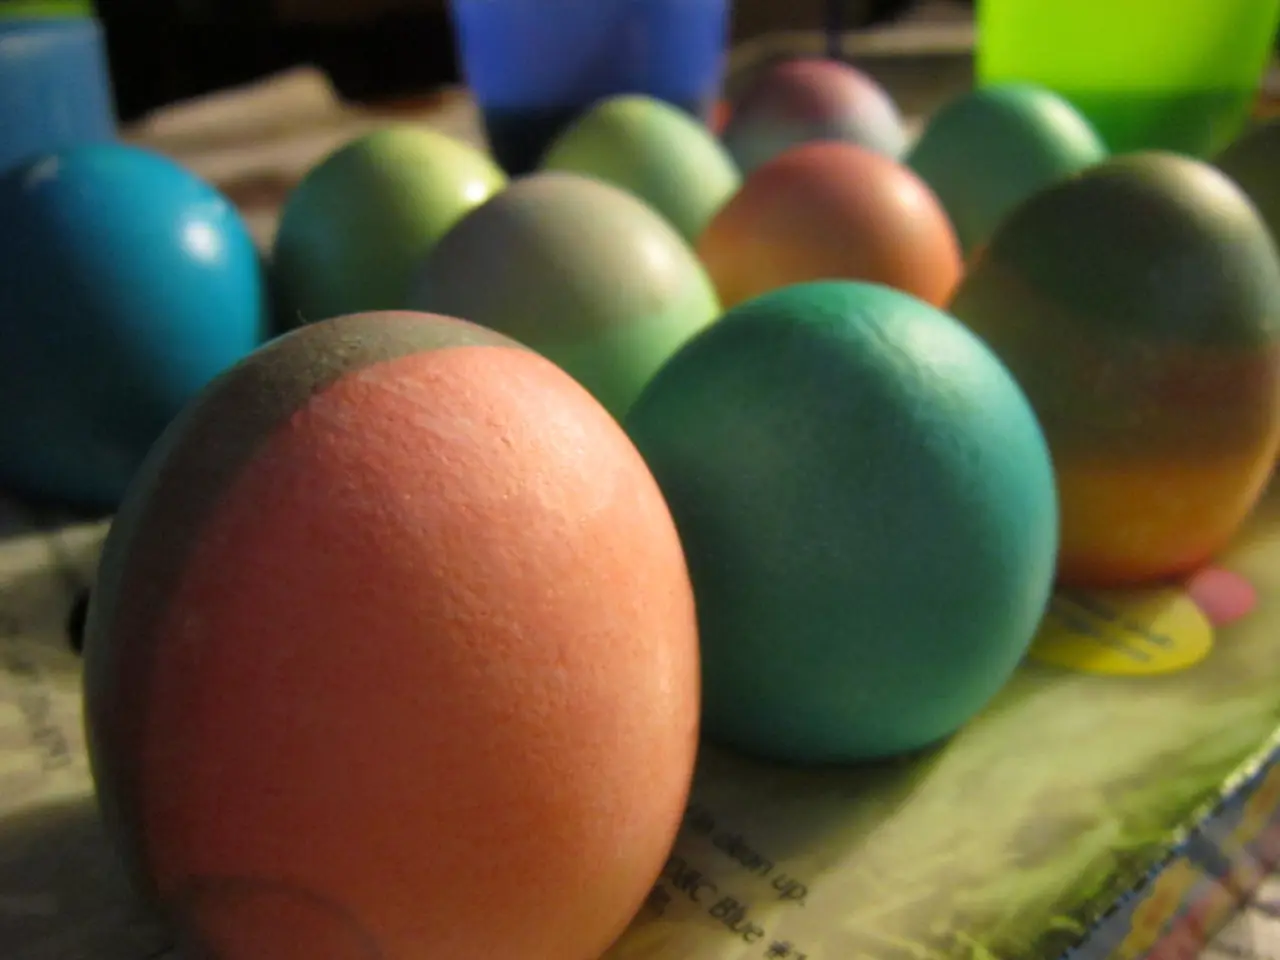
Balance an egg on the wire egg dipper and place it into a cup of dye. Leave the egg in the dye for about 5 minutes for a solid-coloured egg. If you prefer a more subtle shade, you can leave the egg in the dye for less time.
Once you've dyed all your eggs, place them in the holes of the kit tray or an empty egg carton to dry. When the eggs are fully dry, it's time for an Easter egg hunt with the family.
PAAS egg dye has a rich history and is a tradition enjoyed by millions each year. With more than 180 million eggs dyed with PAAS dye annually, according to the PAAS website, it's clear that this is a beloved activity for families everywhere. So gather your supplies, dive into the world of colour, and create memories that will last a lifetime.
Happy Easter!
Incorporate the lively hues of home-and-garden-themed dyes alongside traditional PAAS egg dyes for a more diverse Easter egg collection. After the Easter egg hunt, transform your home into a rustic retreat by displaying the vividly dyed eggs within your home-and-garden décor as decorative ornaments.


